How To: Terminate mouldings nicely
/Here's a nice wee tip on how to terminate mouldings, if you've been doing this type of work for a while then its probably nothing new to you. I'm sure there's people out there who have never saw it done before. I've seen it called a 'nip tuck' before, I don't have an actual name for it but as I've been doing it on various jobs it has been known as "a wee 22 and half" If you're working with the same guys most of the time, it ends up just being another added piece of lingo to your job site speak. Call it whatever makes you feel good!
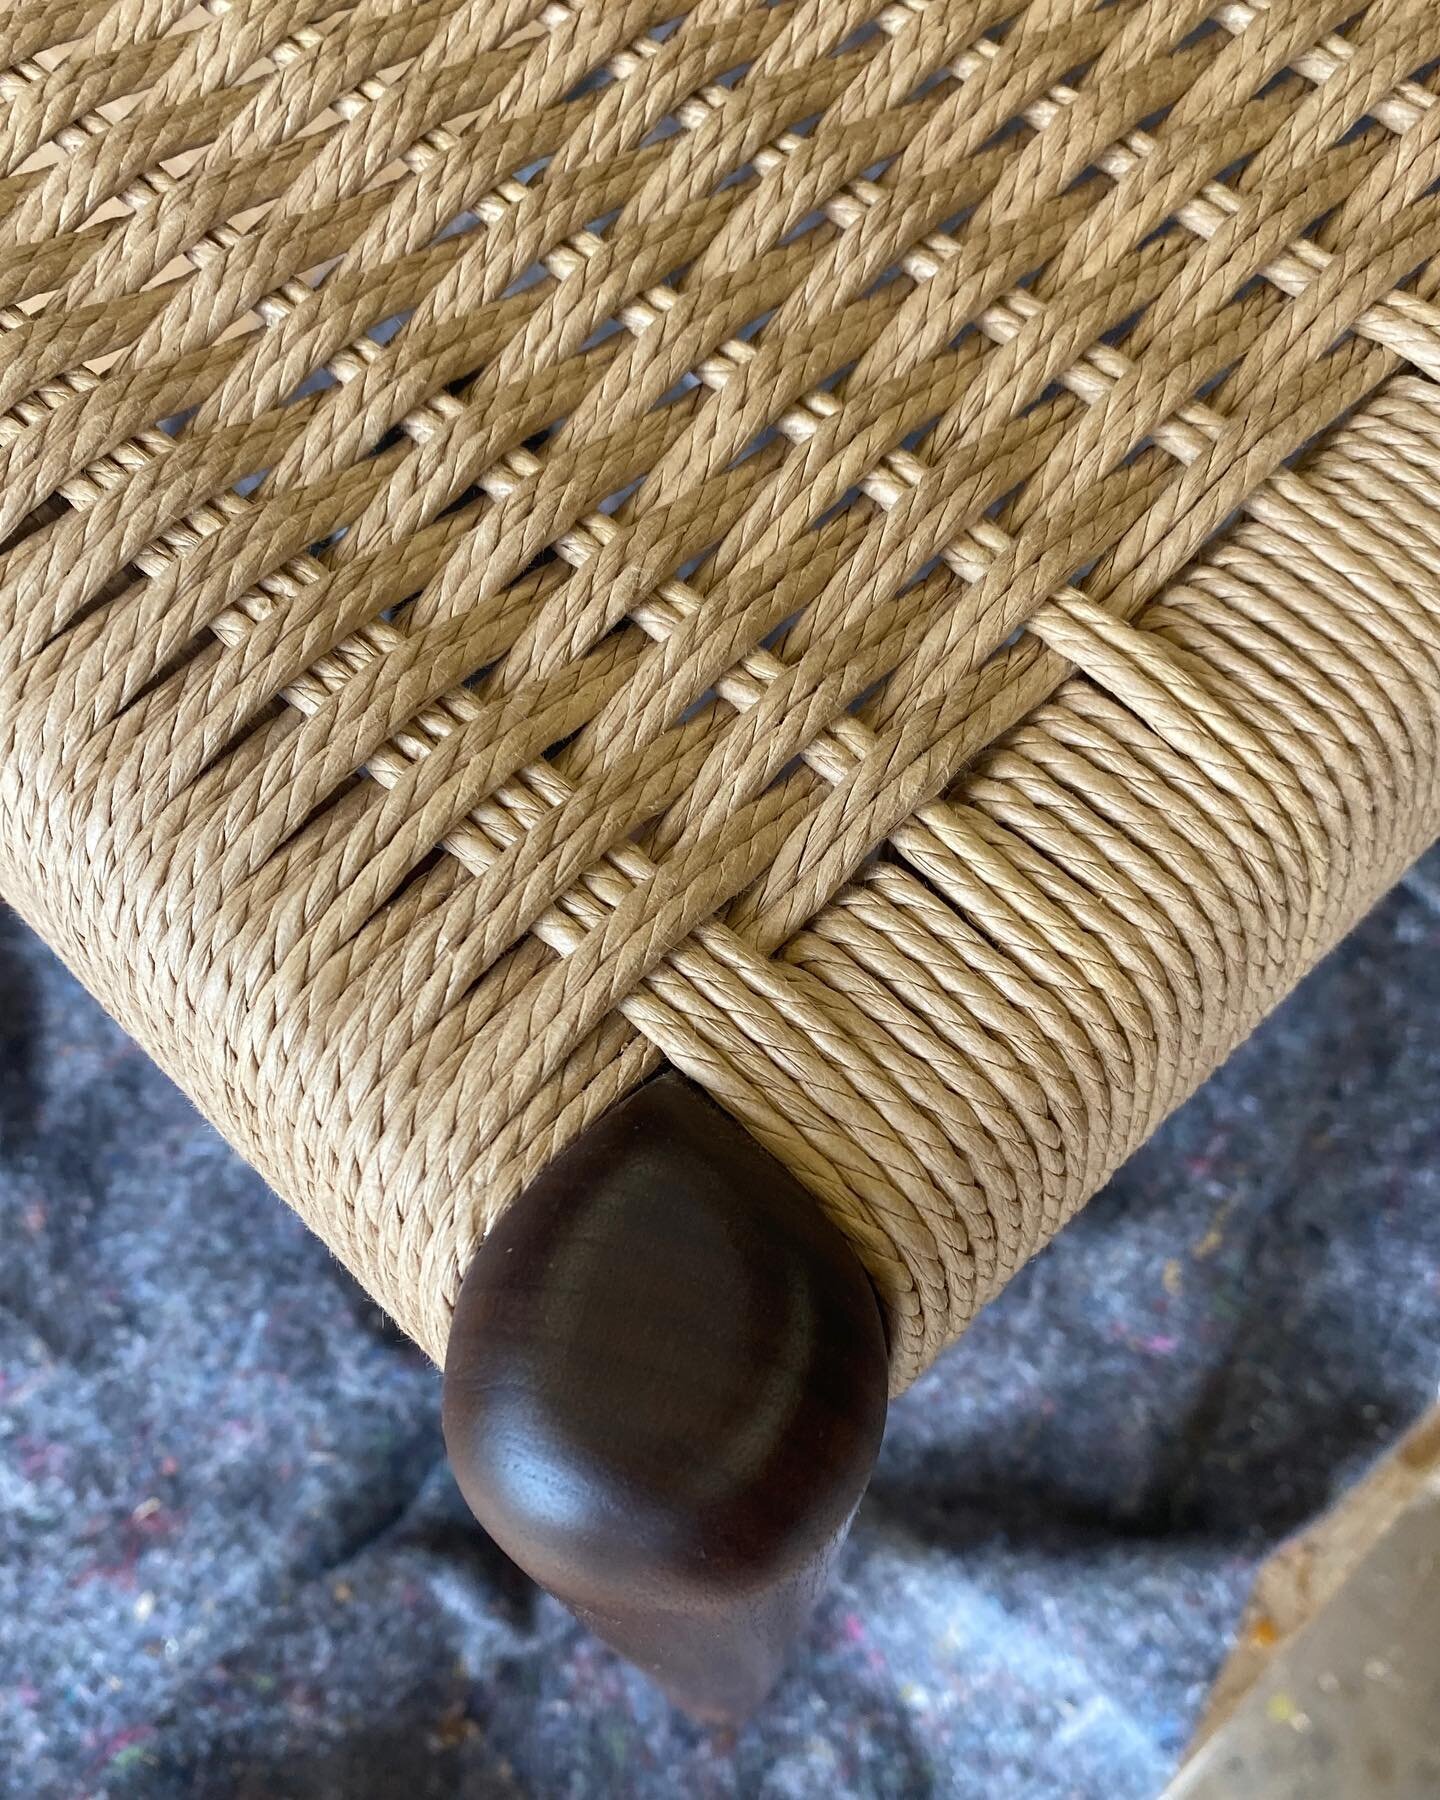
This was a mock up that I made when I had a spare wee half hour. The detail I'm using is when a skirting board terminates into a door facing. For example, you have a basic 3" facing with rounded edges and a 4" skirting board with an ogee moulding, both pieces are the same thickness so when the skirting hits the facing, the end of the skirting is proud due to the rounded edge of the facing like in the picture below.

I've seen it done like this and you probably have too, maybe they've squeezed a big bit of caulk into the gap then painted over it and no one notices. If you are a joiner/carpenter you will have this disease, a disease that when you walk into anywhere, doesn't matter were, your eyes are drawn to the joinery, you can't help it, your mind is too fast to even notice you're doing it, you can't get rid of it either. So when you are doing your own work its nice to do something different, something so that when the next joiner to see your work double takes and wants to get in closer for a look, gives him something to think about for a bit. I like to do "a wee 22 and a half"


The first thing I do to get going is to make a 45° cut back into the skirting. This will be the bit of the return piece that sits against the wall.
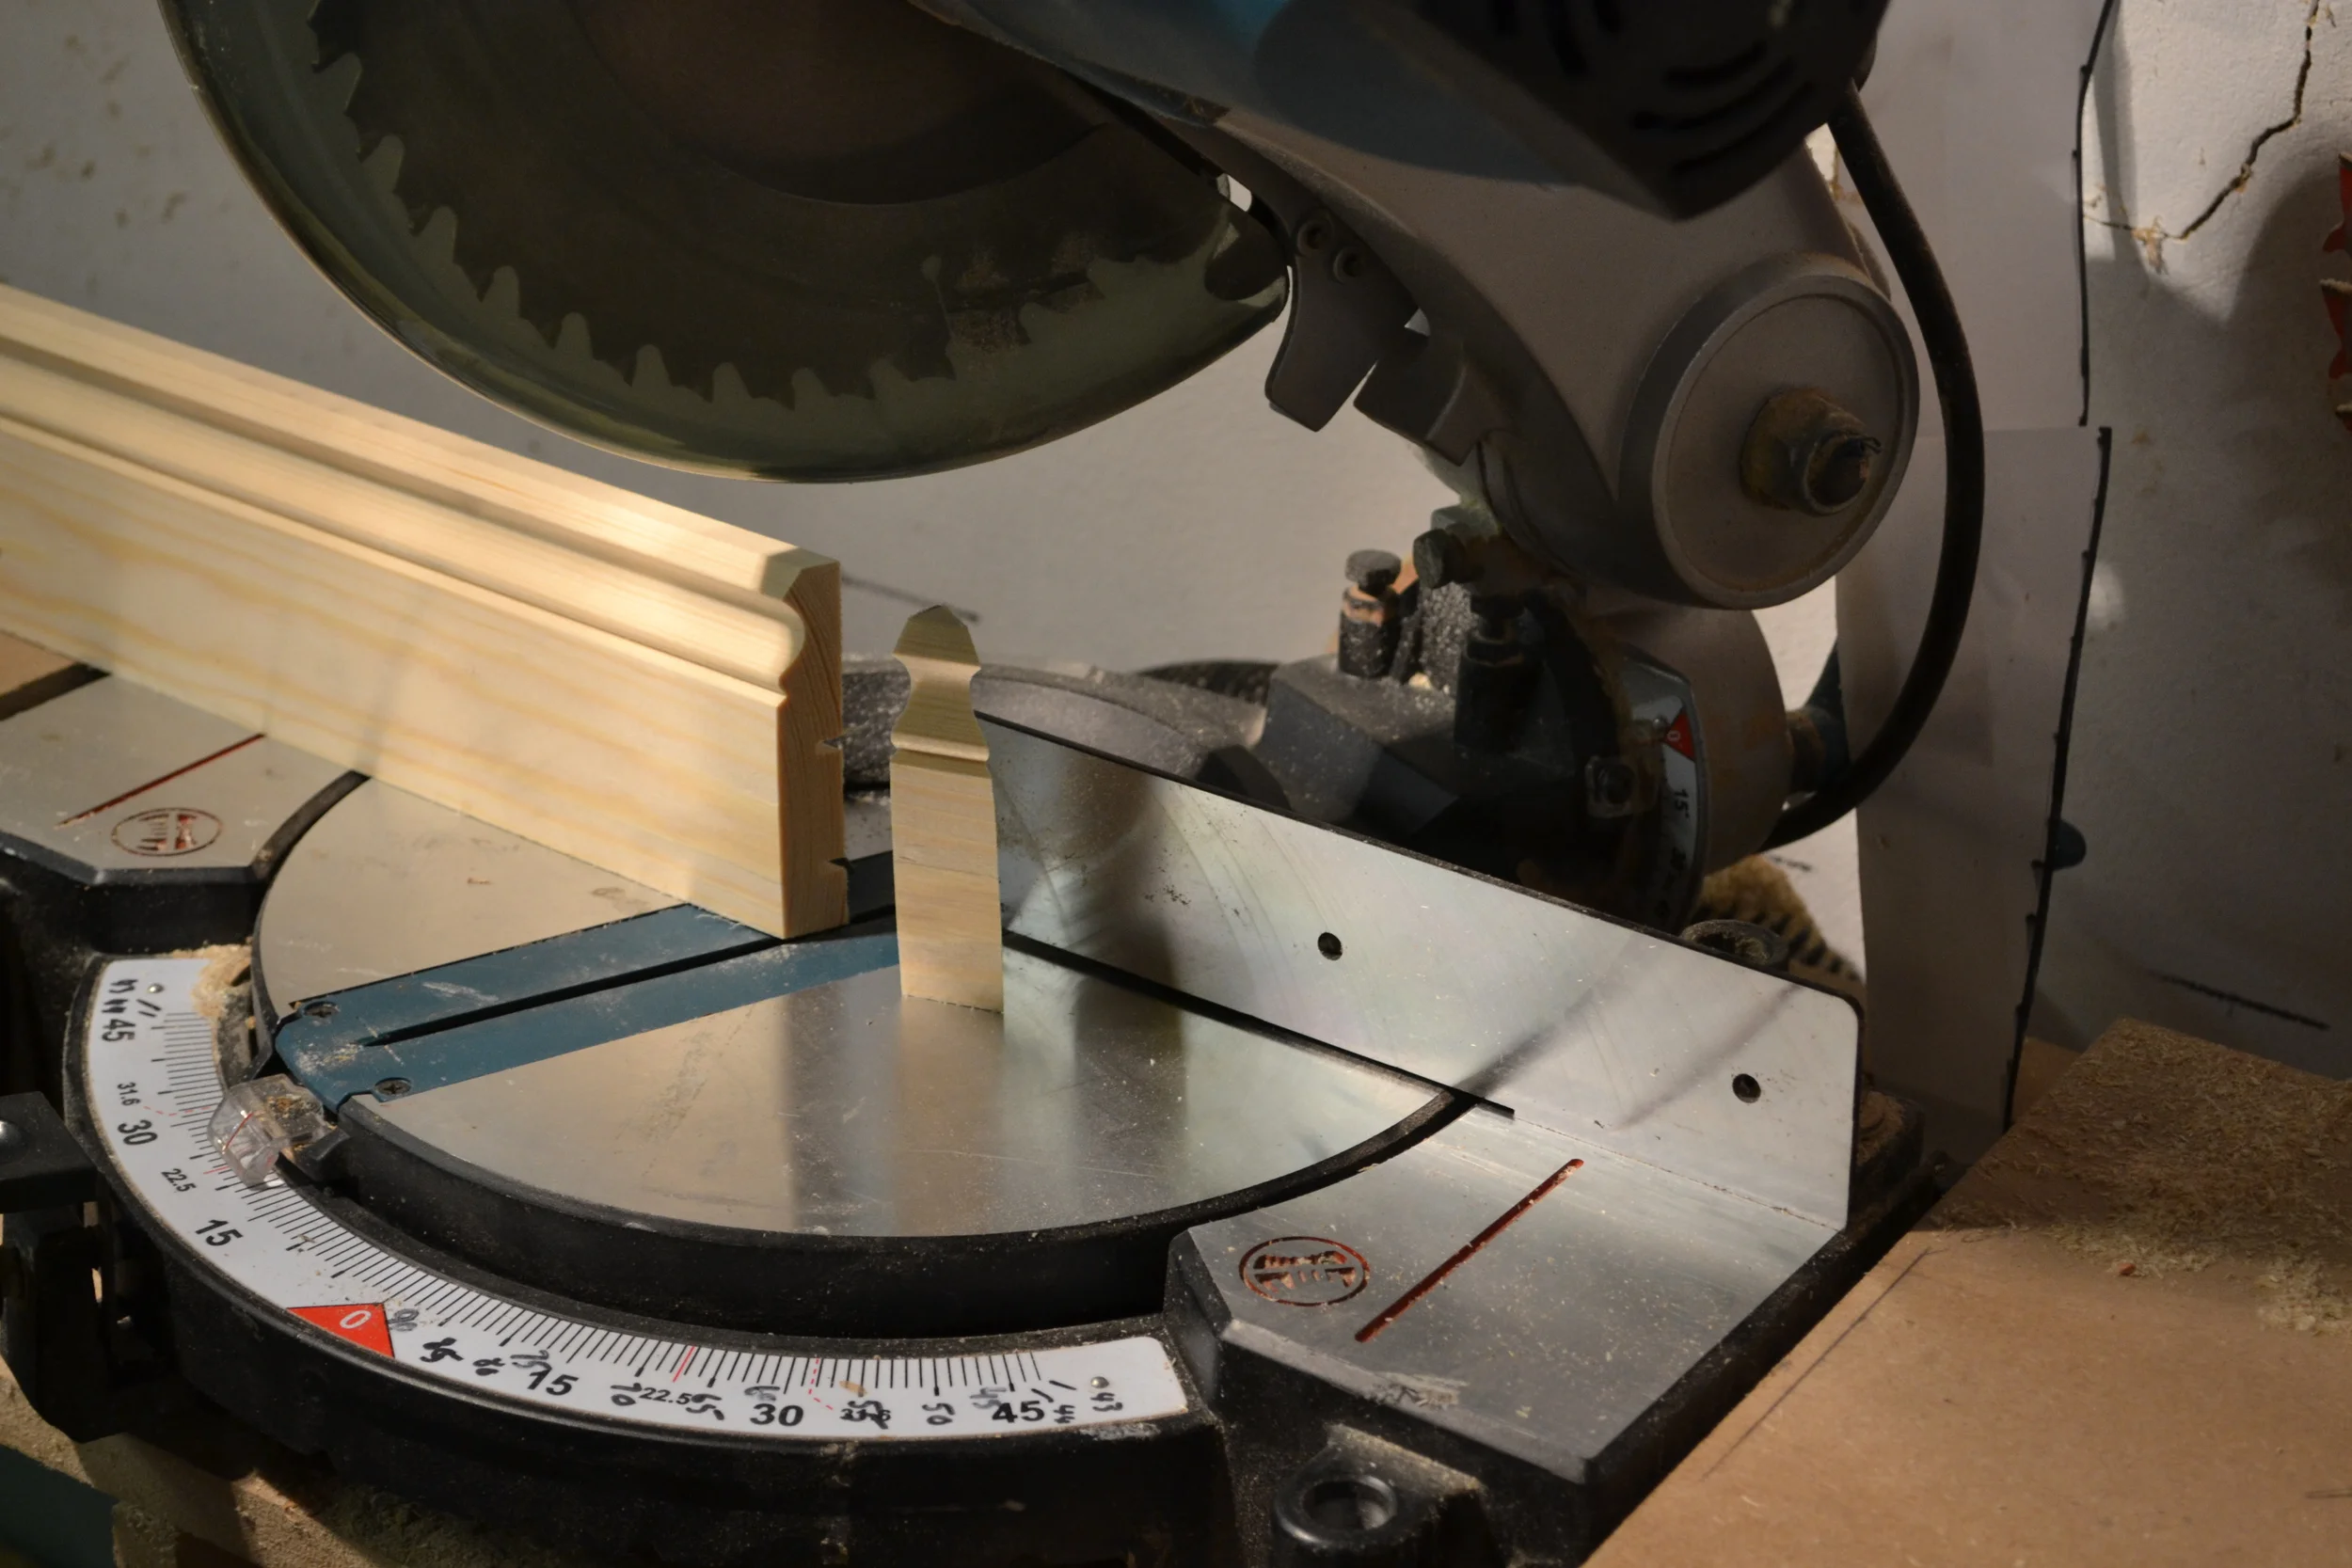
The next move is to swing the saw over the the 22.5° mark on the opposite side. Your cut needs to be right on the back of the 45° cut you just made so that once it's all fitted it sits tight to the wall. This is your 'return piece'. It look like a mini Taj Mahal. If it is stain grade work you are doing it makes sense to use the same piece of material for the skirting and the return, the grain flows around the piece nicely. If it is paint grade you can use two separate pieces.

Now swing the saw back to the opposite 22.5° mark and cut the skirting board. I like to do this stage and fit the return piece before the skirting has been cut to the final length. I cut the skirting to my final length from the opposite side of where my wee 22 and a half piece is fitted.
I like to glue the return piece and fix it with a few 23 gauge pins. You can use mitrefix (2P10) glue if you like. I didn't have any when I was doing this and the 23 gauge pins are so tiny you don't notice them once sanded.

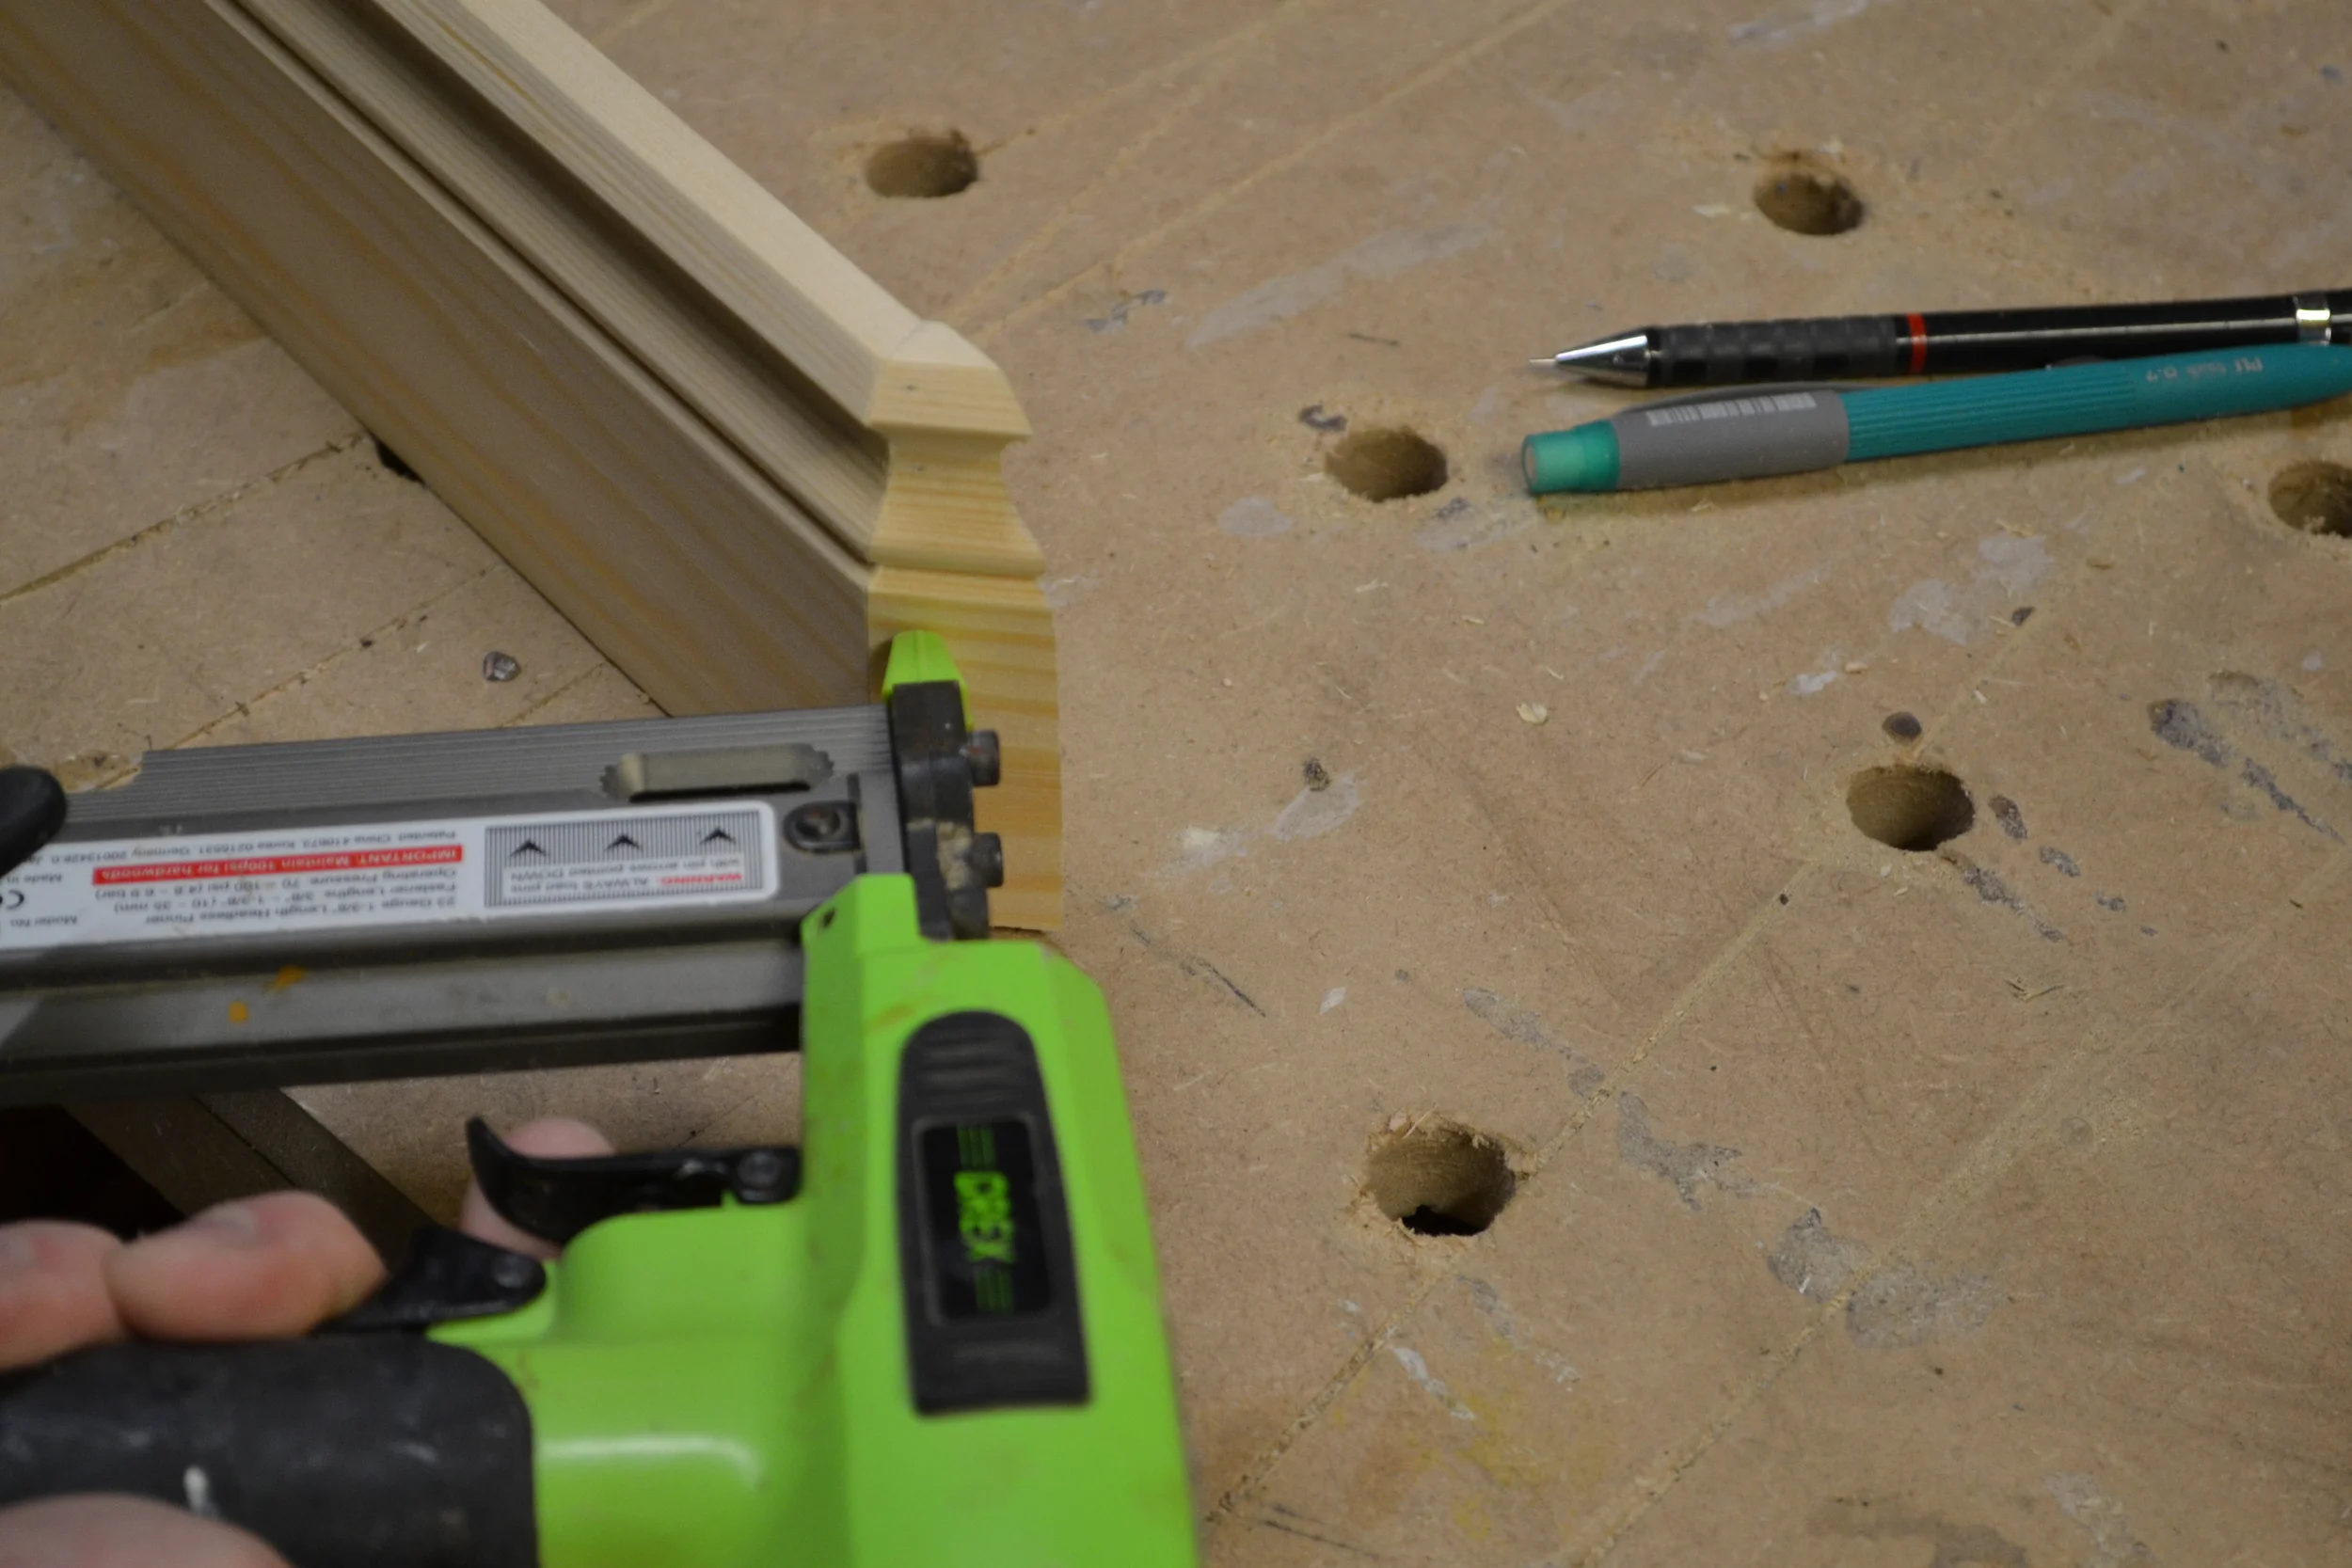
The Grex is one of those tools that when you get it you wonder how you got by without it, especially for small detailed work. I looked around for a while to get one here in Scotland, the guys at NailFast in Dundee had a couple in stock, they were the cheapest and very helpful with getting my compressor sorted out.
You could probably fit the skirting at this stage

I like to do one more thing before fixing the skirting in place. I transfer a mark from where the rounded edges of the facing stop being rounded onto the return piece of the skirting.

I cut square to the line and it squeezes up to the facing, it kind of resembles the skirting board growing out from the facing.


I think It's a nice detail and a good technique to have in the goody bag, once you know how to do it you end up using it for a lot of things. I've used it for crown moulding on coffered ceilings that return into a stone wall, chair and picture rails terminating at columns and on a moulding that I fitted to the middle section of a double height skirting. It works in a lot of places. Hopefully it comes in handy at some stage.
Another tip that I learned today while doing this is that is you are writing on a Mac, you can use 'Option,Shift and 8' and it gives you the 'degrees' symbol ° Always learning.